HDR Tutorial from Visiting Derelict Buildings
In this HDR tutorial I'll take you through the process of creating HDR photo's from a recent visit to a derelict building. This photography tutorial will take you through the photography process explaining various techniques and software.
To start this tutorial we'll take a look at the equipment you'll need for such a photoshoot. Next we'll go through the process of actually taking the photos and then finally editing.
Creating HDR photo's is a pretty straight forward process and is simply the result of merging multiple images. Each image is shot at a different exposure to bring out details across the spectrum.
Photography Equipment
Needed
- DSLR - You'll want to have full control over all functions, I used my favourite Canon 5D MKII
- Wide Angle Lens - To take advantage of the size of the environment. I used the brilliant Canon 16-35mm f2.8
- Tripod - Keep a steady shot for multiple exposures. I recommend the Manfrotto 055XPROB tripod legs with Manfrotto 804RC2 head.
Recommended
- Remote Trigger - Prevent moving the camera during multiple exposures. I used the Canon RS-80N3 with my cameras.
- Safety Equipment - Hard hats, torches etc. Old buildings can be dangerous.
Process & Techniques
The easiest approach is to set up your camera to take multiple exposures using bracketing found in most cameras. The results can then to combined with software later. The main reason for HDR is to compensate for the camera's lack of sensitivity. While the human eye can pick out detail from a scene containing both bright and dark areas most camera's can't. Because of this they require merging multiple exposures into one.
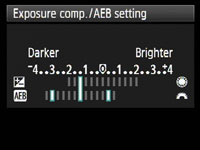
Bracketing is set differently per camera so you'll need to refer to the manual for your specific camera and model, however, the below is roughly the standard display. Essentially the center highlighted line determines the "normal" exposure while the far left line the underexposed and far right over exposed. These can normally be adjusted in small increments for maximum control.
Once bracketing is setup you'll need to take 3 shots, one for each stop of exposure. Depending on the settings the camera may take 3 shot consecutively i.e. in full auto mode or may require 3 separate trigger pulls i.e. full manual. During this process you'll want to keep the camera still to make sure all 3 exposures line up for later post production merging. I recommend shooting using a tripod and a remote trigger to prevent camera shake.
Post Processing Techniques
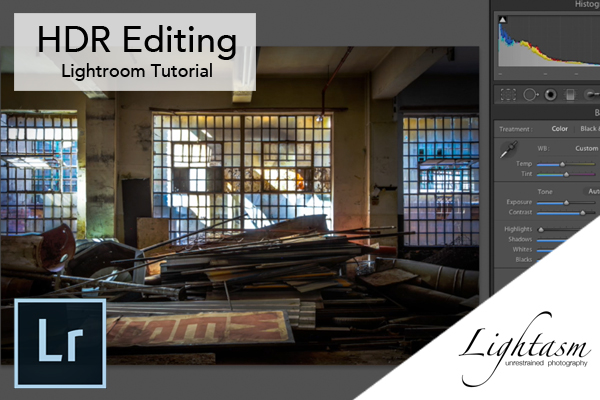
Post processing for the HDR tutorial was done using both Canon Digital Photo Professional and Adobe Photoshop Lightroom.
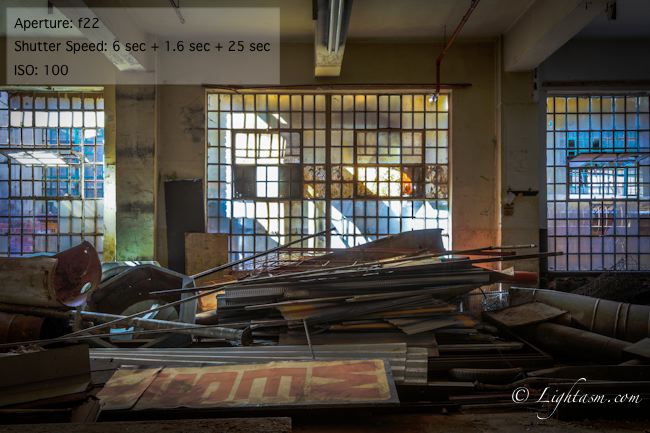
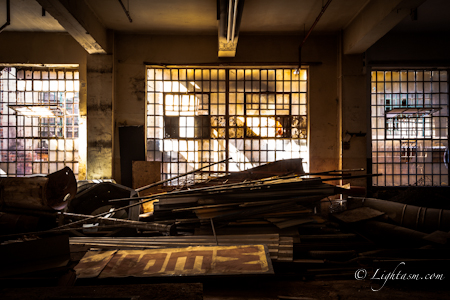
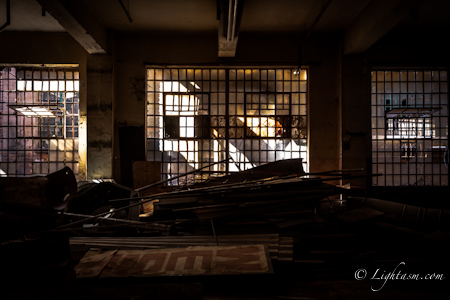
Below are 3 examples of shots taken using the above mentioned process. As I shot with Canon I made use of Canons free software "Digital Photo Professional" for the HDR merging. While it is Canon software and works with the Canon RAW image format it can also be used with JPG images. This means it could be used with photo's taken by other camera manufacturers shot or converted to JPG.
I used the Canon software which is limited to merging only 3 images. Because of this if you've gone for a wider range of exposures (repeating the above process and adjusting the exposure range) you'll need to use other software. The process for merging is pretty straightforward. Simply select the 3 images to merge using shift to select all 3 simultaneously then click "Tools -> Start HDR Tool" from the menu bar. All 3 images should appear, simply click the "Start HDR" button to begin merging. Once it's complete you'll see options to change the presets. But I prefer to leave it as "Neutral" and simply save the resulting image as a TIFF. I then edit in Photoshop Lightroom where I have more control over the image.
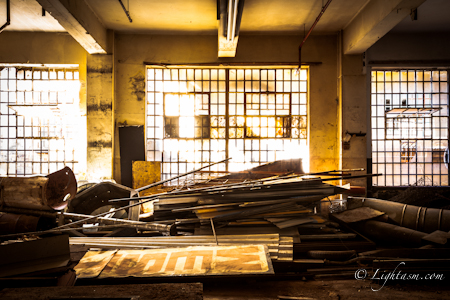
By merging the above images into a single image the various elements of each image combine to form a single well exposed image. As a result you can see details from the highlighted areas through the mid range and into the darker shadowy areas.
HDR Tutorial Video
This short HDR video takes you through the basic HDR tutorial described above showing you the image creation and editing. Don't forget to subscribe to my YouTube channel for more tutorials like this.
Photography Results
The above images show the ideal use shown in this HDR tutorial. It results in balanced exposure across the image from the highlights to the shadows and everywhere in between.
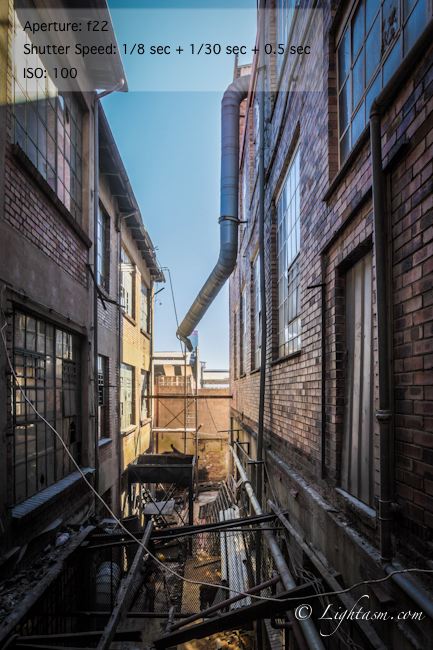
Don't forget that HDR can also be used with outside shots as above. The narrow alley way between the two buildings had mixed light which made it the perfect candidate for HDR. Because of this you can see a clean exposure right across the image.